MetaMask Guide: How to Set Up MetaMask Wallet?
Don’t let the cute fox logo logo fool you. MetaMask is one of the most important bridges into the world of decentralized applications (dapps) as it lets you storesEther and other ERC-20 tokens in secure place. MetaMask manages the wallet...
Don’t let the cute fox logo logo fool you. MetaMask is one of the most important bridges into the world of decentralized applications (dapps) as it lets you storesEther and other ERC-20 tokens in secure place.
MetaMask developed the wallet, allowing transactions with other Ethereum-based addresses, and also lets you operate dapps without having to be a part of the Ethereum network.
Before MetaMask, you had to hand out your security keys from private wallets in order to engage with dapps. Now you can quickly access NFT Art Marketplaces like OpenSea and DeFi apps like Compound with less invasiveness to your privacy.
With its ease-of-use and utility, learning how to set up MetaMask is a great gateway into the decentralized world.
In this guide, we'll show you how to set up a MetaMask on both desktop and mobile in a secure and reliable way.
Setting up a MetaMask on Desktop
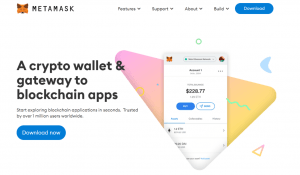
It’s recommended that you use Google Chrome for MetaMask as the browser generally has less problems than others. After opening up your Chrome browser, type in the URL metamask.io at the top to ensure that you’re on the right platform.
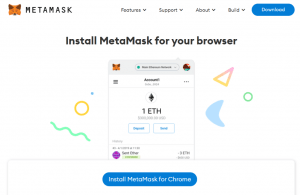
After you enter the URL, click the download button and install MetaMask for Chrome. Add the extension to your browser.
You should see it downloading at the bottom before you’re transferred to the MetaMask page.
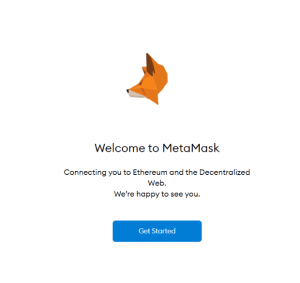
Click the Get Started button and it will ask you if you’re new to MetaMask. If you already have a seed phrase and want to gain access to it, this is where you can import your wallet. If you’re just getting set up, click Create a Wallet.
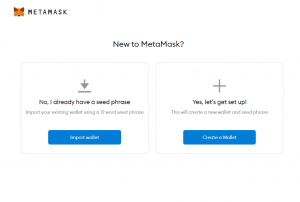
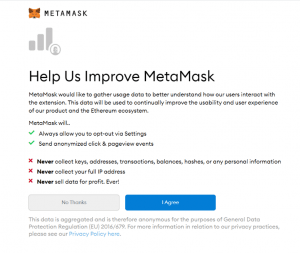
After clicking Create a Wallet, MetaMask will ask for your information in order to improve their platform.
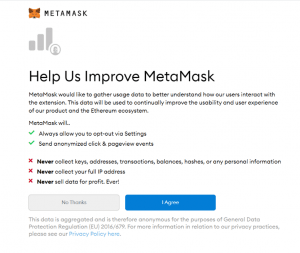
Click ‘I Agree’ if you’re comfortable with MetaMask using your usage data to better their application. If not, click ‘No Thanks’.
Next, it will take you to password creation. For security reasons, you should create a completely original password made with a combination of letters, numbers and symbols.
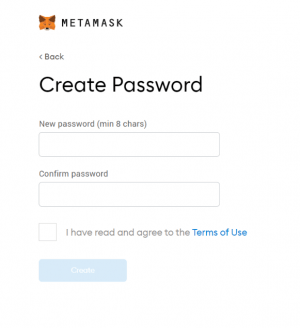
Create your password, agree to the Terms of Use, and hit Create. You’ll be using this password when you are prompted by MetaMask or a dapp to log in to MetaMask.
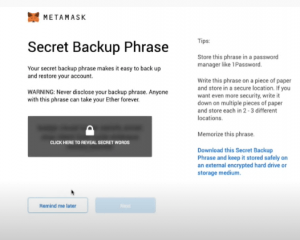
Create your 12-word seed phrase, as MetaMask calls the Secret Backup Phrase. In this way, you can restore your account if you ever delete MetaMask from your browser. You can also access your account on a new computer from anywhere with a seed phrase. You’ll be asked to confirm your secret phrase in the correct order on the next page.
Keep this seed phrase on a piece of paper and secure it in a completely private location. MetaMask suggests storing it in a bank vault, in a safe, as well as other multiple secret places.
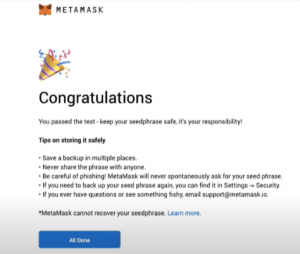
Awesome! Now that you’ve created your MetaMask, all you have to do next is transfer Ethereum tokens, which we’ll cover in another article. After filling up your wallet, you can dive deep into the decentralized ecosystem, like buying and selling NFT art or going for big gains in decentralized finance. MetaMask connects to applications fast, so you should be diving into the decentralized world in no time!
If you want to learn about setting up MetaMask on mobile and even sync your browser extension to the mobile app, read on.
Setting up MetaMask on Mobile
As more and more decentralized applications are on mobile, learning how to set one up will give you access to dapps on the go. The mobile app also goes the extra distance in making you familiar with the application.
Simply search MetaMask in your phone’s store and install to begin. IMPORTANT: Be wary of imposter apps and only choose the one with most downloads and developed by the original, credible developers or risk losing your funds.
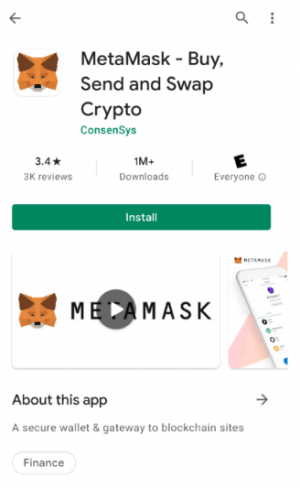
After clicking Install, you’ll be welcomed by MetaMask.
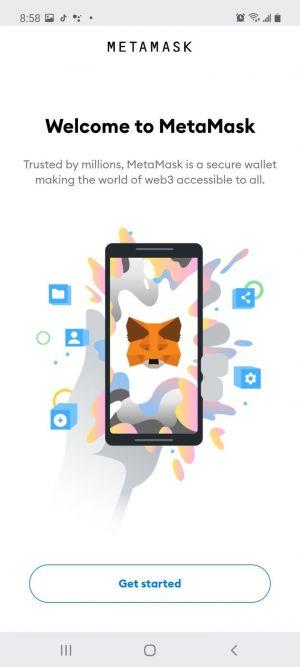
Press Get started to start setting up your wallet. After this point, certain phone screenshots are not allowed by MetaMask for security reasons. If you need photos for reference, it’s fairly similar to the desktop version above, so you can scroll up.
In the next step, you can choose to sync your MetaMask to your desktop extension. You’ll have to open the extension on desktop, proceed to Settings > Advanced, ‘Sync with Mobile,’ and scan your QR code. After this, your desktop extension will be connected to your MetaMask.
If you’re looking to have your own mobile MetaMask wallet, click Create a new wallet.
Like the desktop version, it will ask you to create a new password and confirm that password. Read and agree to the Terms and Conditions.
Next, you’ll create your 12-word seed phrase. You’ll be prompted to confirm that seed phrase by clicking the words in the correct order. Like the desktop version, store your seed phrase safely. The app will also ask if you want to share your usage data. Again, choose whichever option you feel comfortable with.
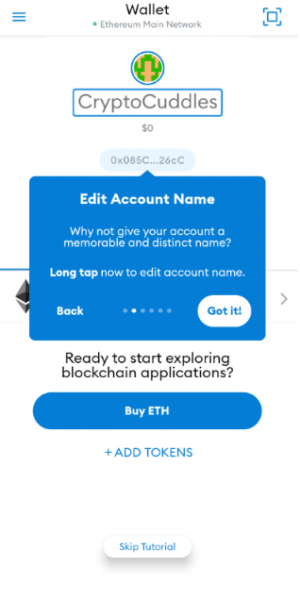
After that, you’ll be prompted to take a tour of the mobile app. It will mention that you can create multiple accounts on your MetaMask by just tapping on the mobile icon. MetaMask will then suggest that you create an account name, mentioning that the name should be memorable and distinct, like CryptoCuddles for example.
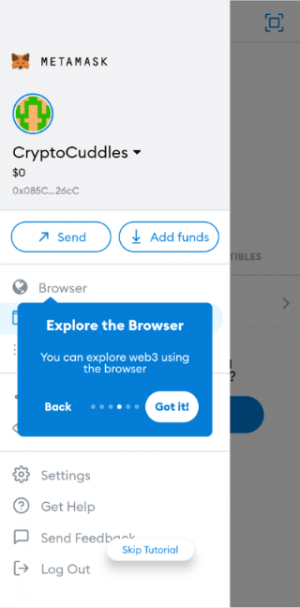
After creating your account name, the app will lead you to where you can find your Wallet options, Transaction History, link to share your Public Address, and so forth.
Then, MetaMask will relay you to the search page. The app is neatly laid out. It gives organized suggestions for ways you can use your MetaMask application.
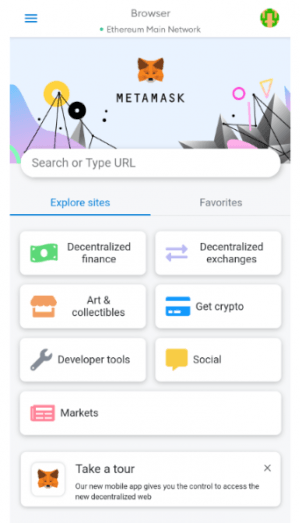
After transferring Ethereum to your account, which we’ll cover in another article, you can come back to these applications and try them out. The great thing about MetaMask is that it makes connecting to dapps fast and easy.
You’ll be navigating the new decentralized web in no time!
